Hey, Hey, Hey, Hey There Everyone!!! MommyBee here as always :) Well, as I promised, here are more Sweet Shoppe Party details! Yay! I decided that this post should be mostly about the food that was served. So, without further delay, here you are ----
See my Oh-So-Bright-&-Beautiful Deviled Eggs??!! Pretty awesome right?! (Don't worry, I'll be a giving a tutorial shortly, just keep scrolling)
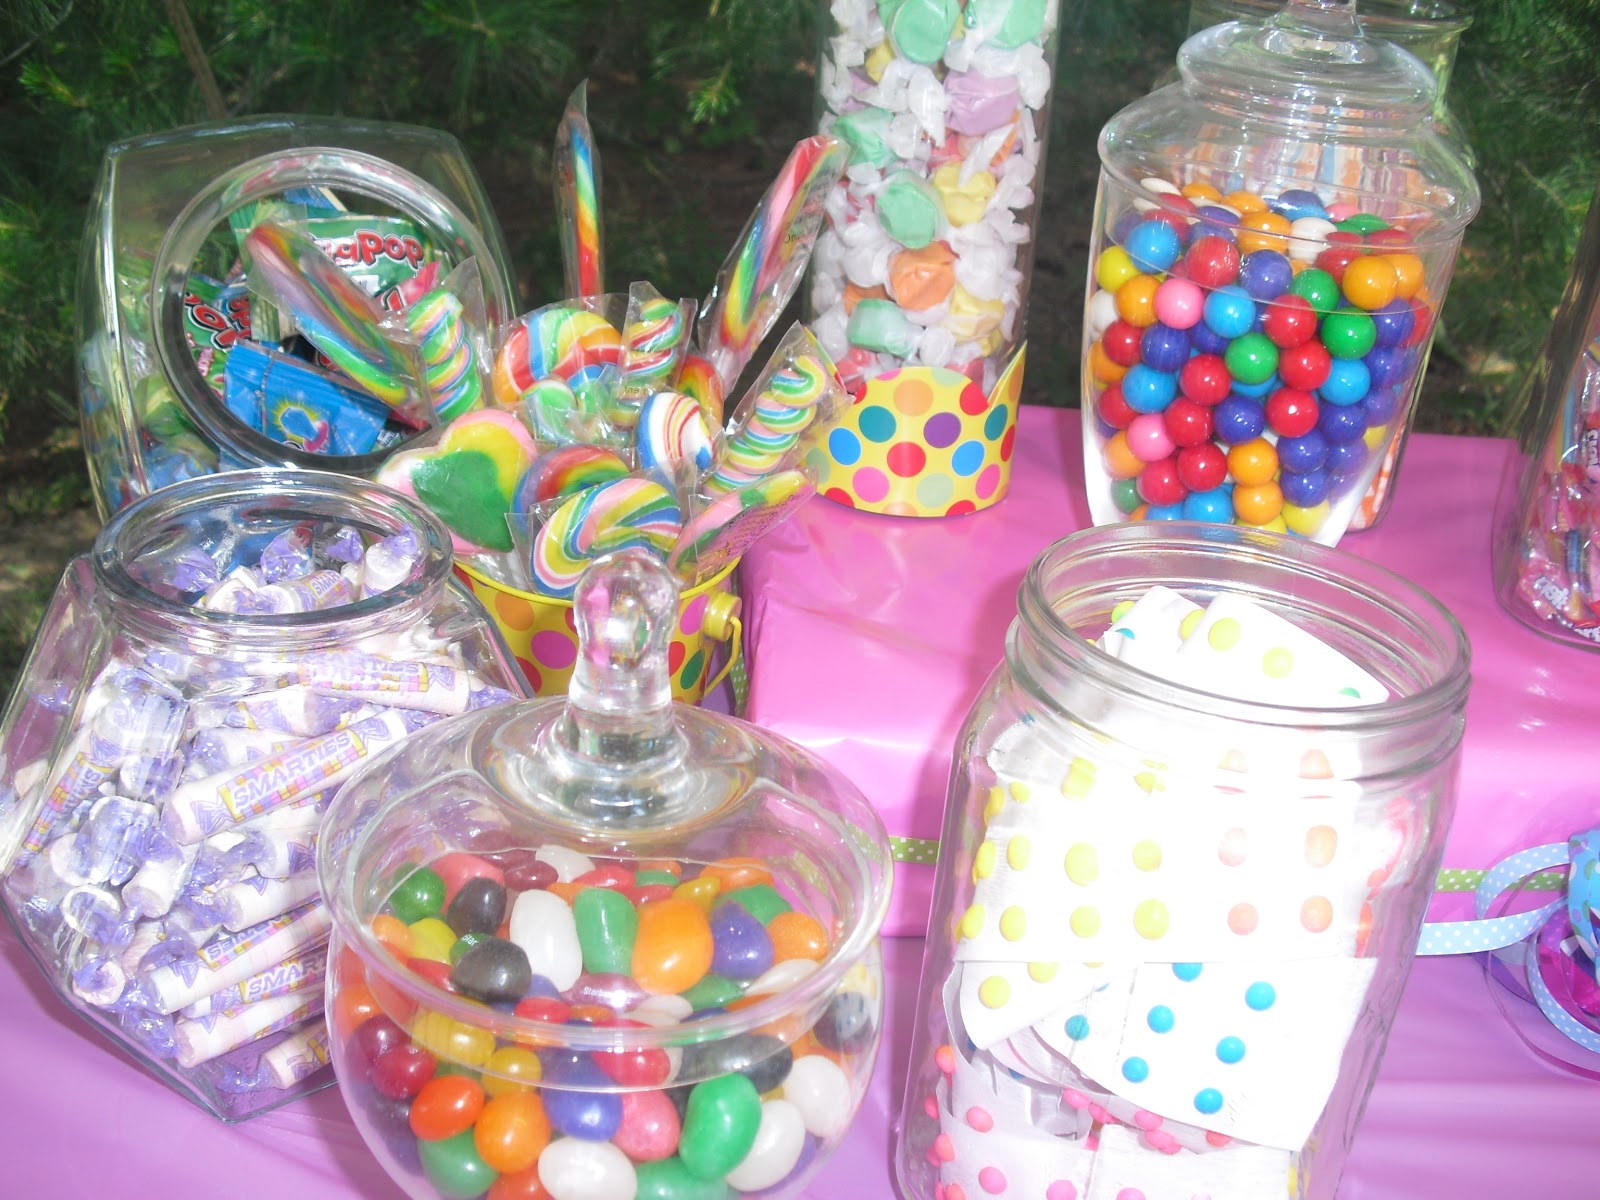
So, basically, we wanted something simple, but yummy. Something that could be done ahead of time, but taste like it was fresh made. So we decided on Pulled Pork (not just any pulled pork--- the easiest, most delicious pulled pork you'll ever taste), Hot Dogs (the stand-by, I know, but we did ours in our crock-pot-- bet you didn't see that coming), My Oh-So-Bright-&-Beautiful Deviled Eggs (like I said, the tutorial is coming), Bacon Ranch Pasta Salad (thank you Betty Crocker--- c'mon, I can't do everything), and Creamy Mustard Potato Salad (courtesy of my father-in-law). So, I'll get to all the wonderful recipes in a second, but first things first, if you're going to have wonderful food, you need to have wonderful place settings (and in our case, we needed wonderfully colorful place settings) ~ here's a peak at what we did~~

Cute right? We alternated between green and pink dinner plates, and green and pink dessert plates, and green and pink napkins (that I got in the clearance isle in Walmart for 99 cents- go me!)
Here's a closer look at the silverware--- we had orange forks and yellow spoons (the silverware came from Party City and the cute polka-dot pails I found in the clearance isle at Walmart)
The cups came from Party City and were alternating between light blue and purple. Okay, now that you've seen the lovely, colorful display I set up, I suppose it's time for some of the fabulous recipes that were prepared. Let's start with the Pulled Pork--
MommyBee's Pulled Pork
- First you'll need a good hunk of pork~ about a pound and a half, maybe two pounds~ it can be pork butt, pork roast, pork loin, whatever you have on hand
- After you get you're meat, you'll want to coat it nice and thick in seasoned salt~ I use Lawry's but you can use whatever you have
- Then, after it's coated, throw it in the crock pot
- Now, Dump a half a bottle of BBQ sauce on top of it
- Here's the kicker~~~ pour an entire can of Dr. Pepper on top of that (that's right, Dr. Pepper)(I know it sounds weird and freaky, but you have to trust me--- Dr. Pepper)(Just do it!!!!!!!!)
- Now, once you've gotten over your immense fear of using soda on your pork, kick up the crock pot to high for four hours
- After four hours has passed, take two forks, stick 'em in the meat and start shredding
- Throw the rest of the BBQ sauce on top of the now shredded pork and let it cook for about one more hour
- After the last agonizing hour has passed, you can finally make yourself a sandwich (don't forget to share)
- Last, but not least, I think you owe me an apology for calling me a weirdo when you realized that I used Dr. Pepper in my Pulled Pork ;)
Okie Dokie, so unfortunatelly I don't have a picture to post of this amazing Pulled Pork, it's just that everyone ate it so fast, it was all gone before I could grab my camera. Trust me, you're family will devour it before you can take a picture to!! Alrighty--- now, I suppose it's time for my Oh-So-Beautiful-&-Bright Deviled Eggs tutorial. So heeeerrrrreeee we go!
Oh-So-Bright-&-Beautiful Deviled Eggs
- First things first, you'll need to boil your eggs (about 10-12 minutes is good for a hard boiled egg)
- Once their all boiled, you'll need to shell them and then cut them in half lengh-wise
- Now, you need to pop out the yolks and set them aside in a baggie or a bowl
- Once all the eggs are yolk-less it's time to start setting up the dye
- You'll want to get as many bowls as you have colors
- Now, fill the bowls with enough water that will cover the entire egg white
- Place between 15-20 drops of food coloring in each of the bowls
- Now all you have to do is throw the egg white halves in each of the bowls and wait
- Depending on how brightly you want the egg white's colored you may have to wait for more than an hour (My reds and blues were done in about an hour and my green and purple took about an hour and a half)
Here they are before I added the filling
- Now all that's left is to make the filling~ you just mix the yolks with mustard, mayo, and relish if you want
The flash kinda screwed up the picture ^^^ but there you go, the finished product (I know, I'm so cool :) Well that's about it for now---- I'll be posting more party details later (we still have the cake and games to go over!!) Bye Bye for now!
xoxoMommyBeexoxo